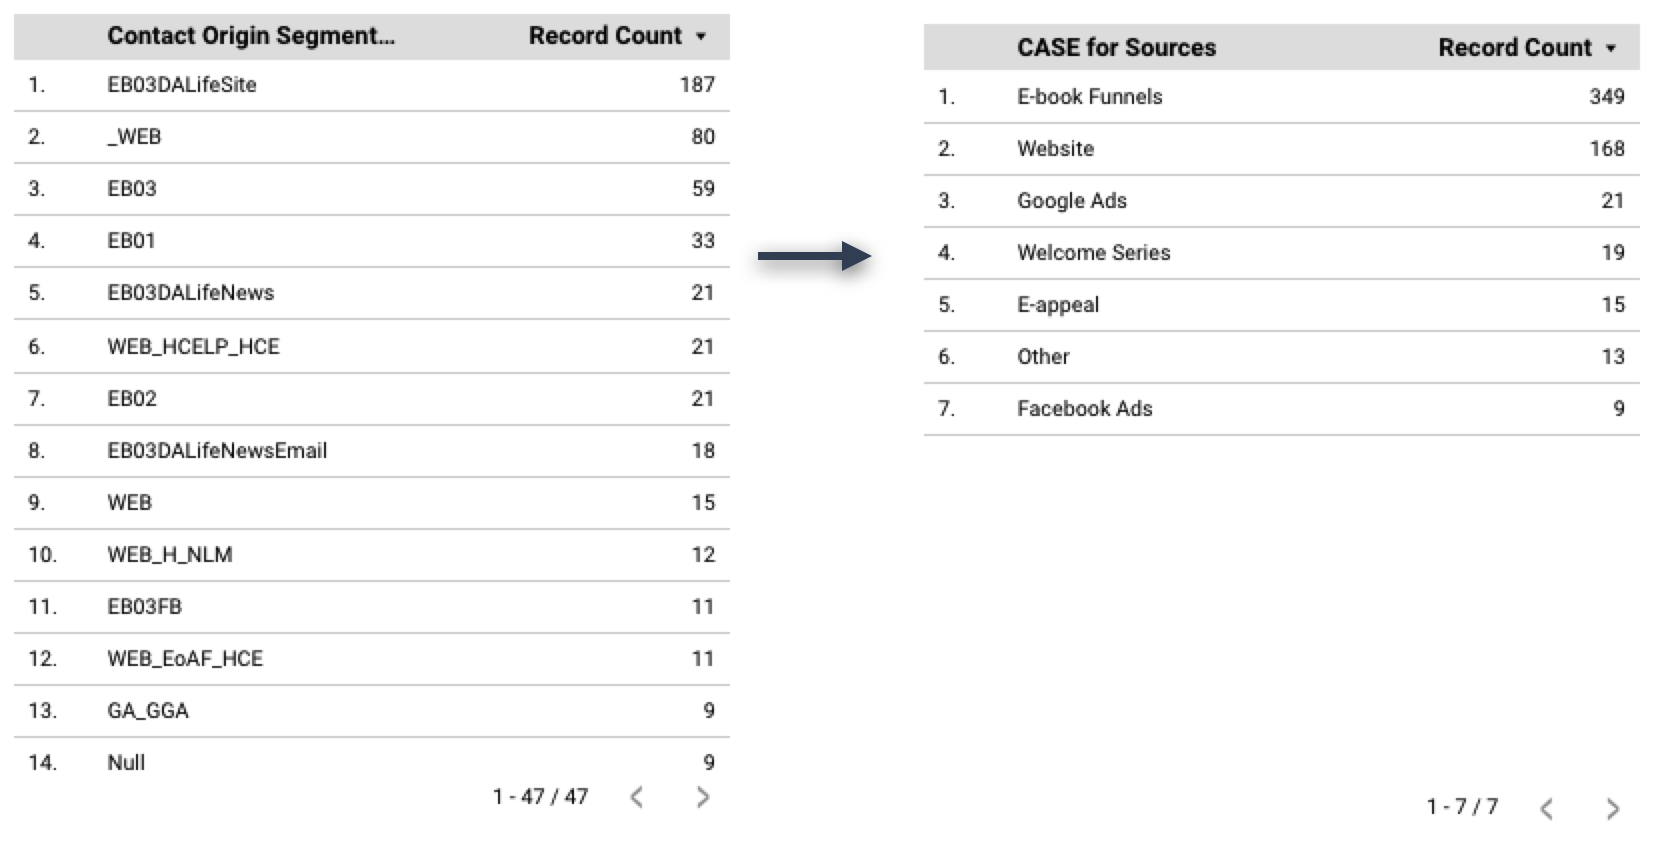
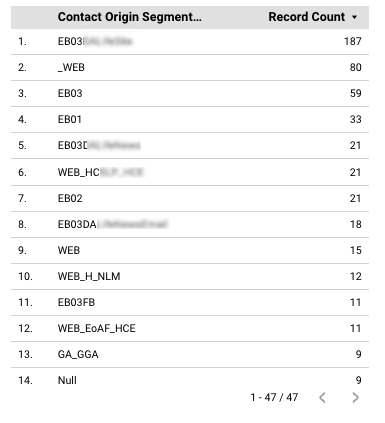
When you create a report in Looker Studio from your CRM data, you may end up with a lot of coded data that looks something like this:
Using a CASE Statement, you can combine data sources and also rename them with a reader-friendly format.
For example, your source code for donors acquired through your email welcome series might be coded as NSW. With a CASE statement, you can change this to “Welcome Series.”
You might also have many segments of this code that you want to combine into one. For example, NSWE3, NSWE4, etc.
To use this function, create a new dimension in your report and create your case statement like this:
case
WHEN
Contact Origin Segment Code="_WEB"
    OR REGEXP_MATCH(Contact Origin Segment Code, "WEB.*")
THEN "Website"
    WHEN REGEXP_MATCH(First Gift Segment Code, "NSW.*") THEN "Welcome Series"
    WHEN REGEXP_MATCH(Contact Origin Segment Code, "EA.*") THEN "E-appeal"
    WHEN REGEXP_MATCH(Contact Origin Segment Code, "GA.*") THEN "Google Ads"
WHEN REGEXP_MATCH(Contact Origin Segment Code, "EB.*") THEN "E-book Funnels"
WHEN REGEXP_MATCH(Contact Origin Segment Code, "FB.*") THEN "Facebook Ads"
ELSE "Other"
end
In this CASE statement, “When” describes the original code, and “Then” describes the translation of that code. For example,
WHEN the code is “_WEB,” display the text “Website.”
OR gives additional instances to include in the same final expression.
The asterisk (*) is used when there are multiple variations that start with the same code. So, “EA.*” would include EA1, EA2, etc.
The ELSE statement provides a general category for any other sources.
Add Your CASE Statement to a Dimension
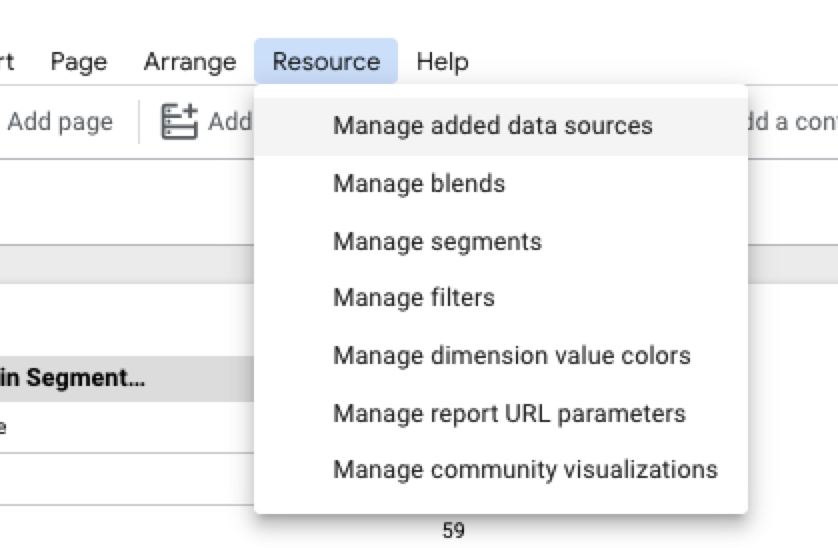
After you have imported your data into Looker Studio, you can create the CASE statement dimension by clicking on the Resource menu and selecting “Manage Added Data Sources.”
Under “Actions,” select to edit your report, and then click “Add a Field” and then “Add a Calculated Field.”
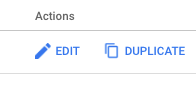
![]()

Name the field as it should appear in the data sources of your report.
Enter your CASE statement, hit “Save” and then hit “Done.”
Close the Data Source window, and your new dimension should appear in the right column for Data.
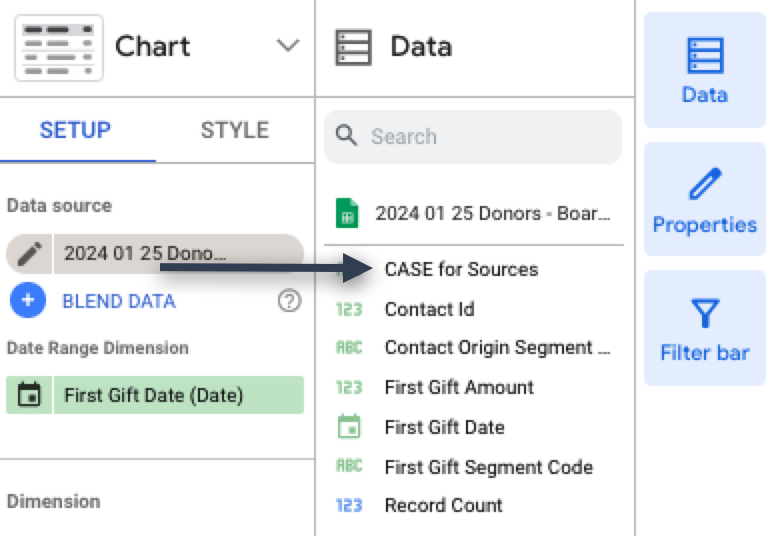
Apply Custom Dimension to Report
With your table selected, click on the Dimension field, and select your newly create dimension.
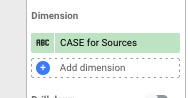
Your table should now contain the cleaned up version of your sources.